Touch Typing Finger Placement: Home Row
By Mark Fulton ·
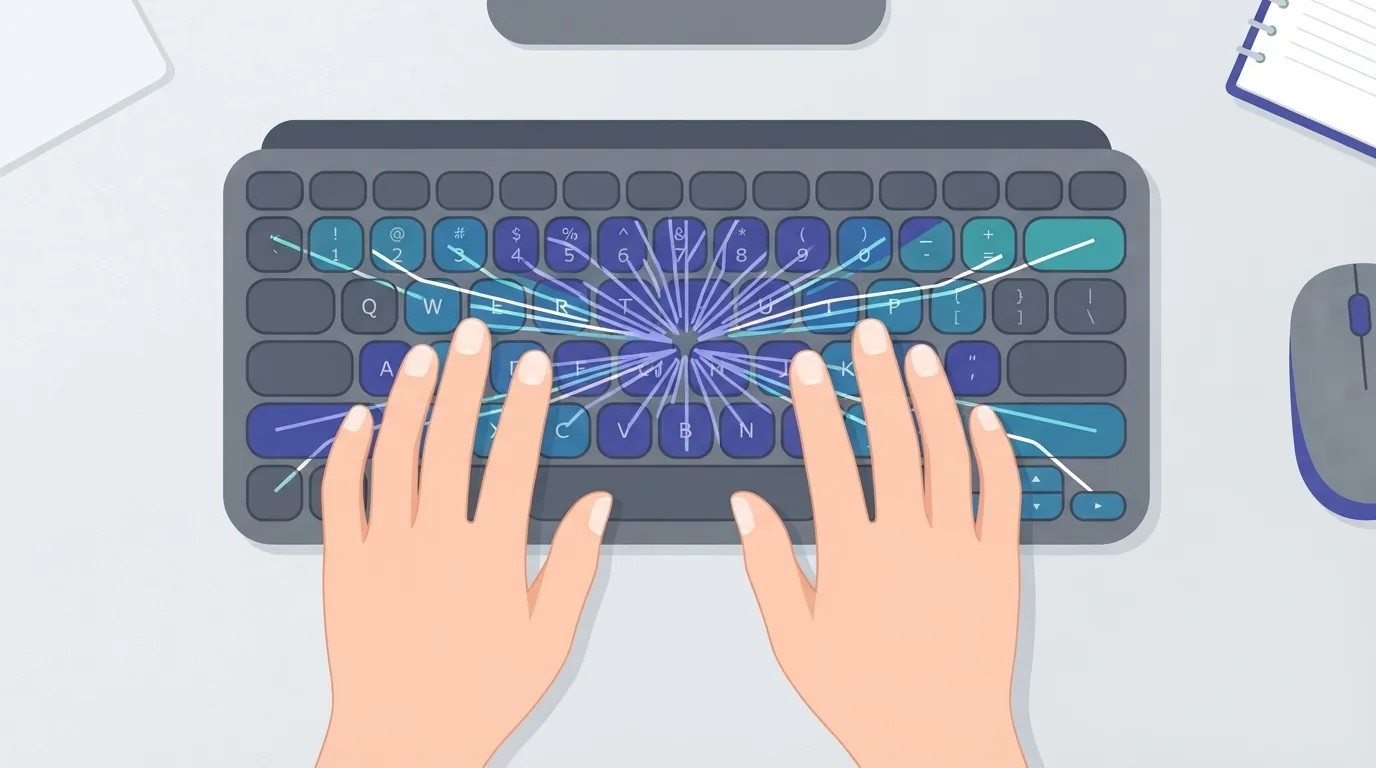
Touch typing is one system, learned once, that pays out for the rest of your life: every key has exactly one finger responsible for it, so your hands stop planning and start executing. This guide covers the standard placement, the full key-to-finger map, and the honest way to retrain if you've been improvising for years.
The home row: where your fingers live
Rest your left-hand fingertips on A S D F and your right-hand fingertips on J K L ;. Both thumbs float over the space bar. That's the home position: the anchor every keystroke departs from and returns to.
You don't even need to look down to find it: nearly every keyboard has small raised bumps on F and J. Land your index fingers on the bumps and the other fingers fall into place. That tactile check is the entire trick to typing without looking.
Which finger presses which key
Each finger owns a diagonal column of keys. Index fingers work double columns (they're the strong, accurate ones); pinkies own the edges.
The map in words:
- Left pinky: Q, A, Z (plus 1, Tab, Shift, and the far-left keys)
- Left ring: W, S, X (plus 2)
- Left middle: E, D, C (plus 3)
- Left index: R, F, V and T, G, B (plus 4 and 5)
- Right index: U, J, M and Y, H, N (plus 6 and 7)
- Right middle: I, K, comma (plus 8)
- Right ring: O, L, period (plus 9)
- Right pinky: P, semicolon, slash, and the working-overtime keys: Enter, Backspace, apostrophe, brackets, and right Shift (plus 0 and the minus/equals row)
- Thumbs: space bar (most typists settle on one preferred thumb; either is fine)
Shift rule: the hand not typing the letter presses Shift. Capital T? Right pinky holds right Shift, left index strikes T. This keeps either hand from folding in on itself.
Why the assignment is shaped this way
The finger map isn't arbitrary tradition. It has support from the largest published study of typing behaviour: Observations on Typing from 136 Million Keystrokes (Aalto University / University of Cambridge, CHI 2018), which analysed 168,000 typists.
Alternating hands is the point
The researchers found that letter pairs typed by different hands or different fingers are more predictive of typing speed than repeated letters are. In other words, what makes you fast is how cleanly you hand off between fingers, not how quickly any single finger can fire.
Standard placement is a scheme for maximising those hand-offs. A self-taught system that routes half the alphabet through two index fingers eliminates them by design, which is the mechanical reason such systems hit a ceiling.
Rollover is what you're building toward
The same study found the fastest typists press the next key before fully releasing the previous one, overlapping keystrokes on 40 to 70% of presses. Slower typists wait for each key to come all the way back up.
You cannot overlap keystrokes reliably with fingers that are travelling across the keyboard. The finger has to already be sitting near its key. That is exactly what home row placement gives you, and it's why the boring anchoring drill in week one is load-bearing rather than ceremonial.
Posture, briefly
Placement fails fast if your hands are fighting your setup. Keyboard roughly at elbow height, wrists floating rather than planted, fingers curved like you're holding an invisible orange, screen far enough away that you're not craning. Nothing exotic. Just remove the reasons to tense up.
Retraining old habits (the honest part)
If you currently type 45 WPM with your own invented six-finger system, proper placement will drop you to 25 for a week or two. This is the step most people refuse, and it's why most people plateau. The trade is temporary slowness for a permanently higher ceiling. Self-taught systems tend to top out hard because a few overworked fingers do all the traveling.
The retraining protocol:
- Commit fully. Half-old, half-new placement trains neither. Every keystroke uses the assigned finger, even when the old way feels faster.
- Go slow enough to be correct. Accuracy first; speed is a byproduct. A typing accuracy test at a crawl beats a sloppy sprint.
- Drill daily, briefly. Fifteen focused minutes a day. The 30-day plan slots this in as week one.
- Measure weekly. One 1 minute test per week is enough to watch the recovery curve: most people cross their old speed within a few weeks, then keep climbing past it.
The bumps on F and J are the whole system in miniature: find home without looking, strike from home, return to home. Learn that loop once and every keyboard you touch for the rest of your life is already familiar.
Sources
- Dhakal, Feit, Kristensson & Oulasvirta, Observations on Typing from 136 Million Keystrokes, CHI 2018